


I’ve always loved teaching science through experiments.
When we studied biology, we’d go outside and examine trees, sketch them, and look at leaves under the microscope. It was magical time. Science was all around us, and we could get our hands on it.
Later, we studied geology and earth science. We busted open rocks, examined minerals, and explored the world right outside our door. Astronomy was just as delightful — the stars were there just waiting for us. Even physics offered endless opportunities. We dropped ping-pong balls and golf balls into sand to investigate impact craters. We made predictions, tested them, and talked about what we observed. Which would make the biggest crater? Why?
This is the kind of science education I love. Real. Physical. Full of wonder and discovery.
But this year we started chemistry, and I ran into a problem.
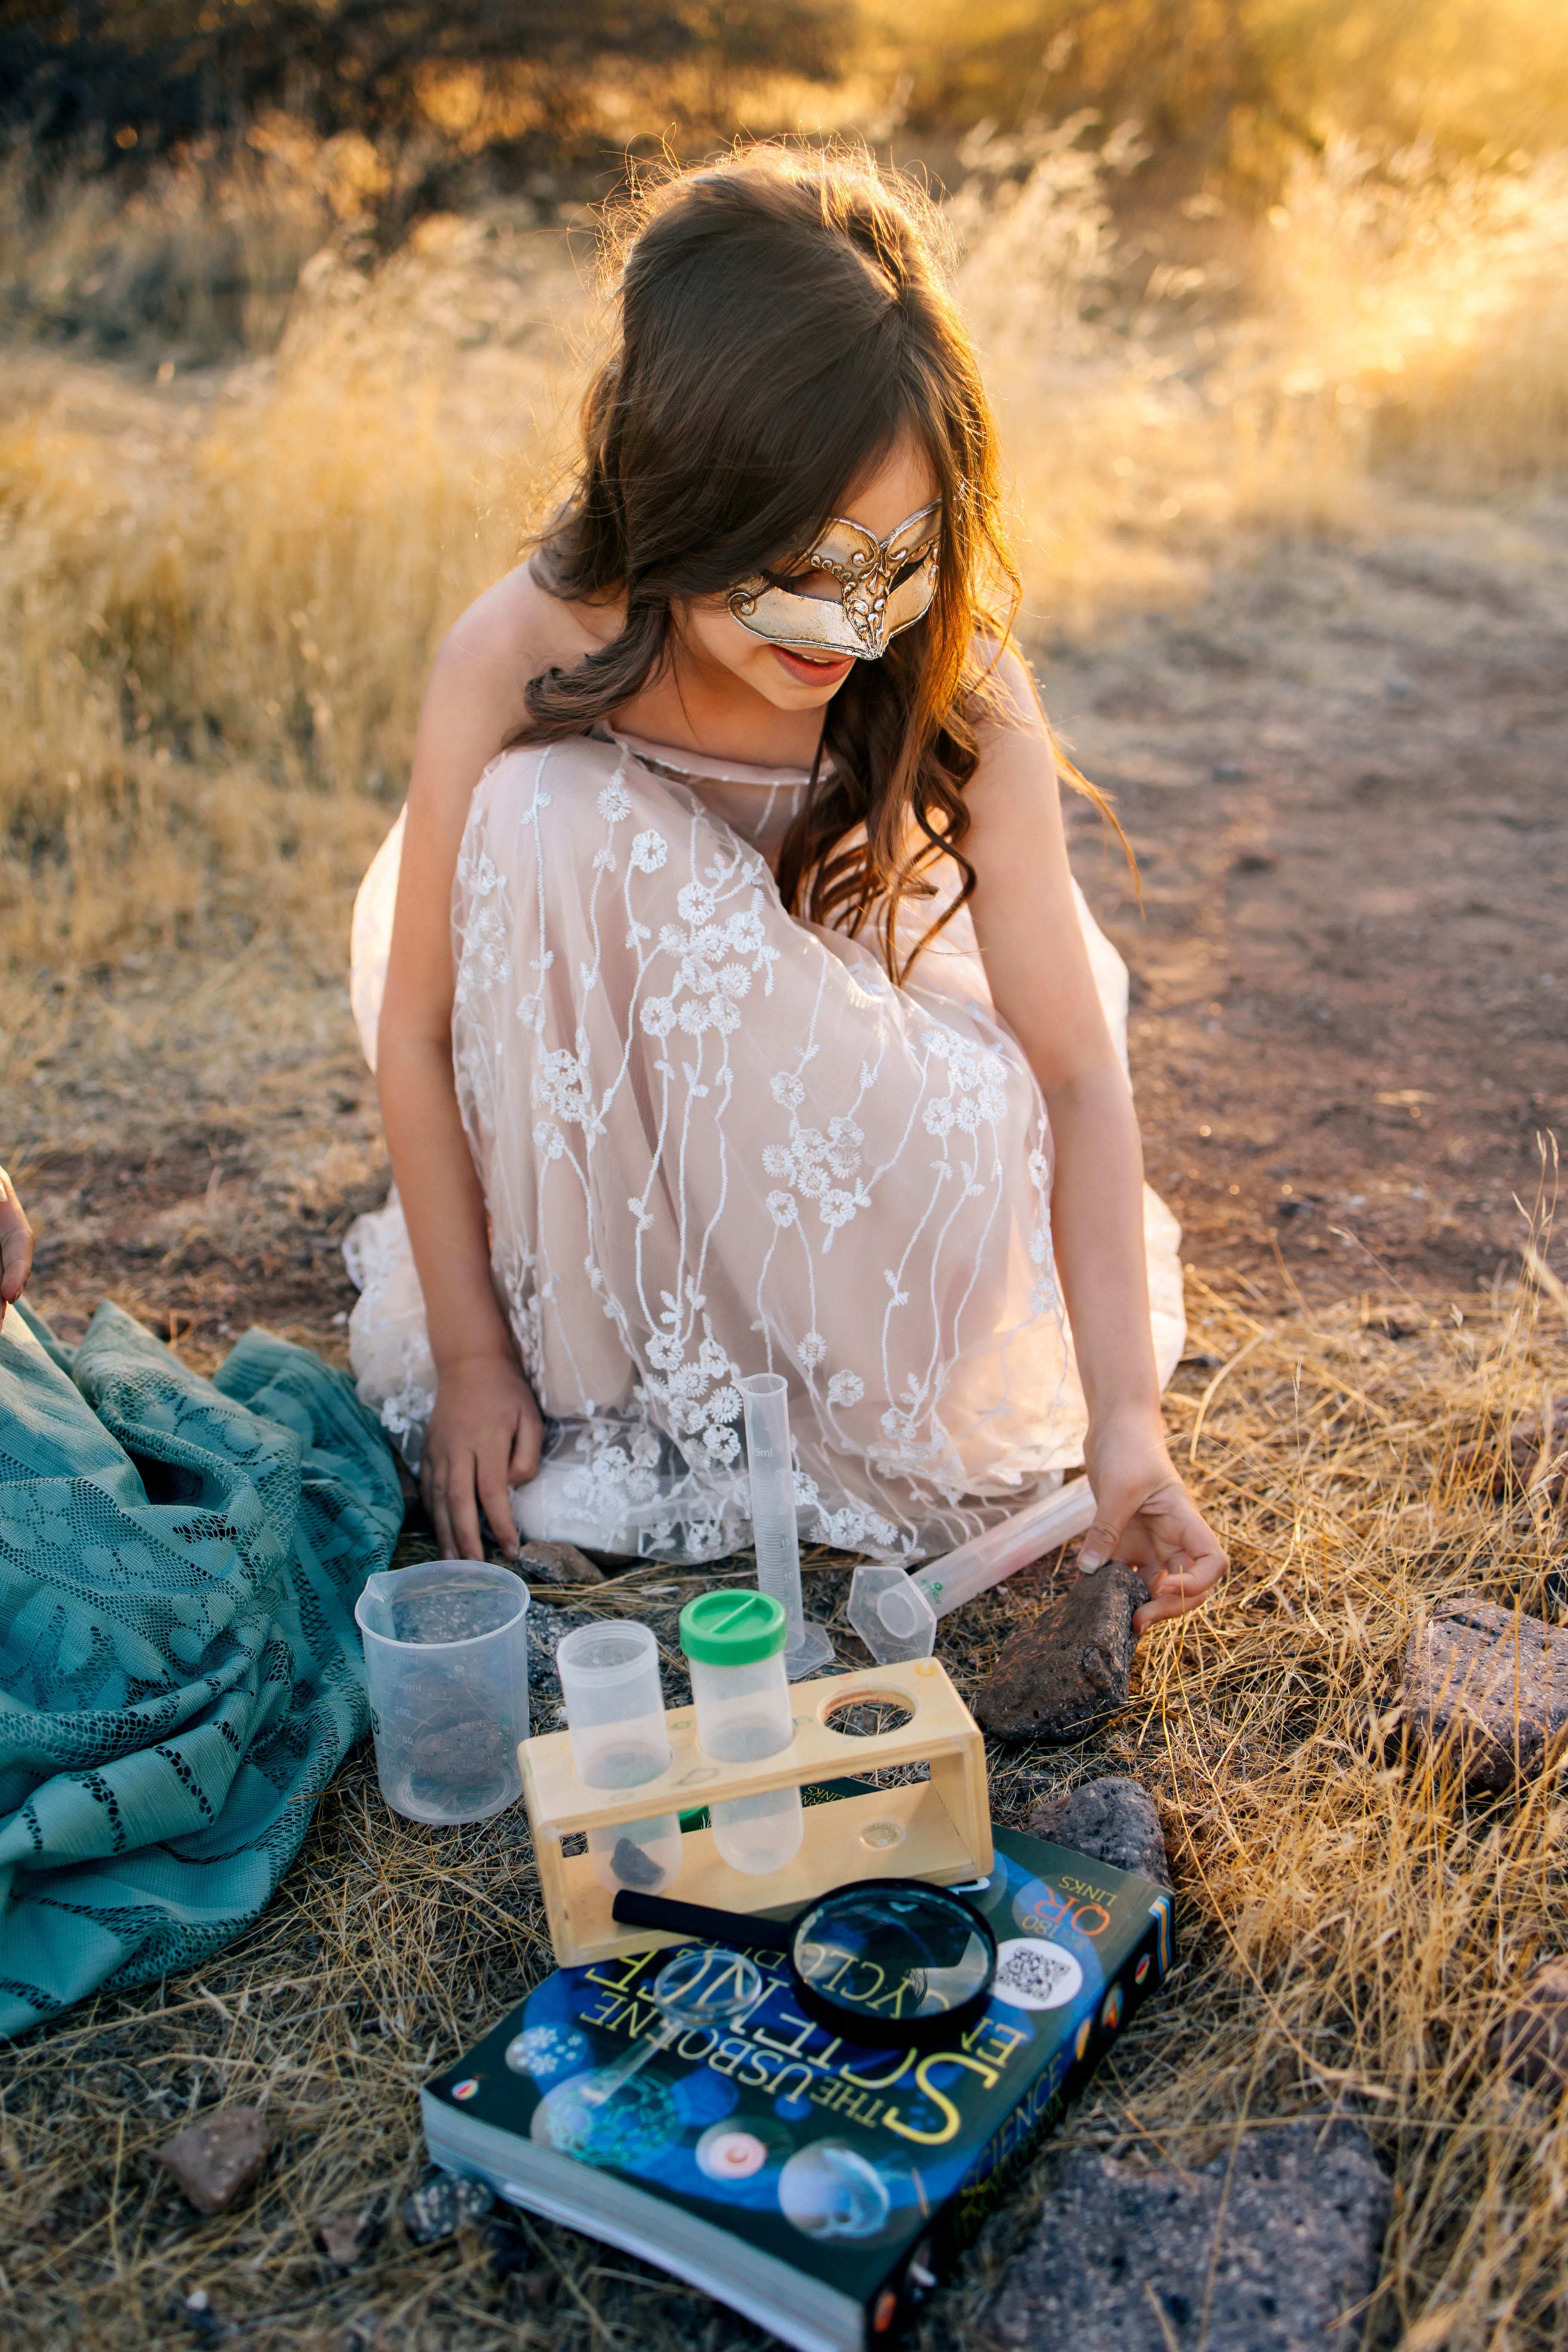
There are a lot of chemical reactions that well… aren’t safe.
Take the alkali metals. These are the elements on the far left of the periodic table, and they’re famous for their explosive reactions with water! I found this incredible video series featuring what I can only describe as a mad scientist and his enthusiastic lab students. They dropped sodium, potassium, and more into water and recorded spectacular reactions — in slow motion to boot! The kids loved it. They still ask for his videos.
But obviously we weren’t going to recreate those experiments in our house (though they absolutely asked if they could!)
Instead we did small experiments and reenactments. We explored why these metals react so dramatically. We talked about their outermost electrons and why they’re so readily given up. We made models of atoms and little art projects with protons, neutrons, and electrons. These kids love an art project! We also did some of the classic safe experiments — cleaning the oxidation off copper coins so you can actually see the gas bubbles, then turning them green again and talking about the Statue of Liberty.
These were wonderful. I don’t want to undersell them. But they were only scratching the surface. We could watch the spectacular reactions on video. We could discuss the invisible particles. We could build models and draw diagrams.
But my children weren’t getting to actually play with the science.
And that’s when I started experimenting with something else: simulations.
I used to think of simulations as just watching someone else do the experiment. But you can use them in an entirely different way. A good simulation gives children the chance to experiment with complex chemical and physical processes that would be impossible, impractical, or dangerous to recreate at home.
Moreover, kids can explore college and even graduate level science safely from their home!
Simulations do something really powerful in a child’s learning → they makes the invisible, visible.
Take gases. We know the air around us is full of invisible molecules. But we can’t see them. I can explain to kids that these particles change their behavior based on temperature, pressure, and volume. I can show them a video OR I can let them play with a simulated chamber.
In one of my favorite simulations, kids can press “pump” particles into a chamber as if they were using a bike tire pump; then, they can watch them bounce around. There are even wall collision counters! Kids add heat (with a simulated fire) and can watch the particles speed up. They can cool the particles down until they fall to the floor and freeze. Change the volume or the pressure and you watch the behavior shift — all while watching temperature and pressure gauges change. Kids get to explore what happens to gases at temperatures I could never create in my kitchen.
Last week, instead of simply demonstrating the simulation, I had them design their own experiments. First I gave them a few scenarios based on what we’d already covered through direct instruction (mostly Khan Academy for us). What do you think will happen if we increase the temperature? What if we change the volume? What happens if we add more particles?
They made predictions. They formed hypotheses. Then they manipulated the simulation to test them. They created data tables and wrote down their results. They came up with “Real-life” scenarios when this would happen.
This alone is enough, but my favorite part was what came next.
The children got to play … really play … with these simulations.
You don’t have to encourage kids much on this. They started trying all sorts of things. They discovered they could pop the lid off if they increased the pressure too much. They figured out how to let the gas particles escape, then timed how long it took the chamber to empty and tried to make it happen faster by adding heat. They added both heavy and light particles and watched how they reacted differently. That is technically high school chemistry, but they explored it just for fun.
They weren’t following instructions. They were asking their own questions.
They were thinking like scientists.
Simulations aren’t a replacement for real-life experiments nor are they a replacement for direct instruction. But they let us teacher deeper, more advanced things to our children than they could experience otherwise.
My kids got to visualize and experiment with things I never even encountered in college level science courses. What an incredible time to be alive!
Make a place for simulations in your child’s education. They are a great add-on to nearly ANY science curriculum. They also bring topics alive that are hard for kids. So, if your kid just doesn’t “get it,” bring these out!
You don’t need an expensive curriculum, a fully equipped laboratory, or a degree in science to give your children opportunities like these.
You just need a computer and curiosity.
The Free Combination That We’ve Been Using
Below I’m sharing the best combination of science lessons and simulations combining two free platforms: one for direct instruction and another for interactive simulations. I use the middle-school lessons, but I currently have 4th graders doing these, and all lessons easily expand into high school levels.
You won’t have to spend hours searching through two enormous websites trying to figure out which resources go together. I’ve done that part for you.